For physical inventory counting, some people print a regular inventory list and check if off.
However, the more "official way is to barcode-scan and/or type the Sku numbers into the Physical Inventory screen.
After that you can run the problem/ exception report to see the discrepancies.
From the VJS Main Menu choose Inventory Menu then Physical Inventory.
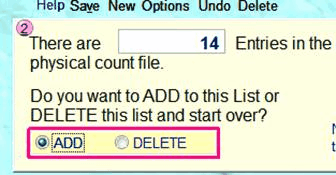
If there are already items in the physical count either choose to "Delete" them - if they are old or just test counts - or choose to "Add" to them to continue with a previously started physical count - e.g. earlier in the day or yesterday.
Note that several people can enter physical counts at the same time. You can also use a combination of some people typing or scanning the Sku's directly into the physical inventory list, while others could scan Sku's into a text file to be imported later.

Choose Enter or Add.

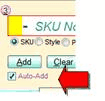
By default Auto-Add is selected.
 With this "On" then after each Sku is typed or scanned in zone 3, a quantity of 1 is assumed and is added to the physical count list and then it waits for a new Sku.
You can change the quantity or delete any item in the main grid.
If you frequently have quantities other than 1, you can Un-check Auto-Add. In this case, after you type or scan a Sku you can type the qty to the right of the Zone 3 box and then click on the Add button.

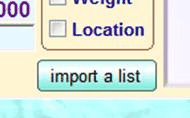
In addition to typing Sku's directly into the Physical inventory screen you can import a list (or lists) of Sku's

The list of Sku's must be a text file with one Sku number on each line. Normally this would be a text file created with a barcode reader and the Sku would appear as an 8-digit number without a dash.
When done, choose Run Exception Report.

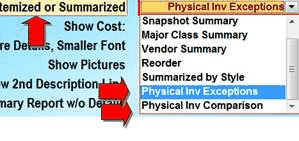
This takes you to the inventory report screen set in Exception Report mode to see a list of just the problem items.

If you change the mode form Exception Report to Comparison Report then you get a list of all items with the comparison of the expected and physical counts.
