Interstore Inventory Transfer
This transfer routine is for the case where you have two or more stores where each store as its own Jewelry Shopkeeper License and has a separate set of books.
This will deduct the inventory quantities from the sending store and add the quantities at the receiving store. If the receiving store already has a transferred Sku number, then the quantity is increased; if the receiving store does not yet have that Sku, it will be created.
Inventory pictures are included in the transfer.
If you have a Lite version of Jewelry Shopkeeper, this module may be added and invoiced as an optional extra.
In Preferences, via the Maintenance Menu, make sure that each store has a different Store ID.
This should be two characters wide (letters and/or numbers.)

Sending Transferred Inventory
From the Inventory Menu, choose Interstore Transfer Export

Choose the ID of the store to which the items are going.

If you will be sending the list using a USB memory stick, insert it ahead of time and type the USB memory drive letter in the Export File Folder.
If you type the phone number (with or without the export file folder) then you can sent the list via the Internet.
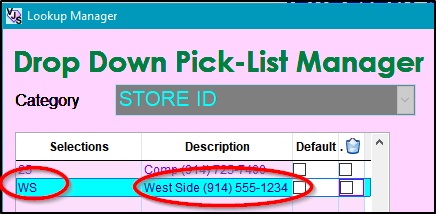
If you would like to manage the drop-down list of possible destination Store ID's, right-click the Store ID box. Note that you can type the phone number in the
stored list.
Choose OK Edit List so you can start to create the list of items to be transferred.
![]()
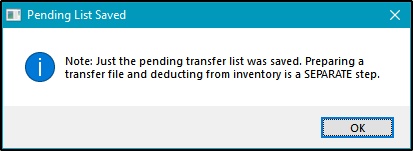
Then choose Save when the list is finished. Note that chosing Save alone does not yet deduct the inventory and create the transfer file. I.e. it is possible to start a list, choose Save and exit the Export file with the list pending. If you do, that would be just a pending transfer list list.
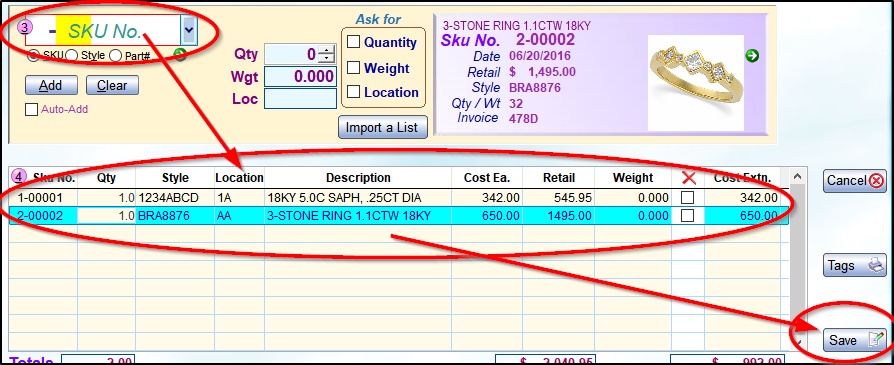
You will see this message to remind you of that.
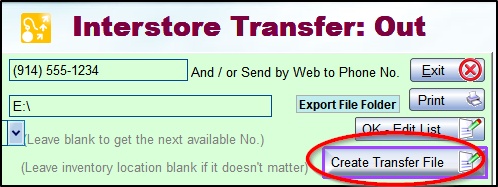
Choosing Create Transfer File is the moment when the quantities are removed from inventory and the transfer file is put on the USB memory stick or "mailed out"
by Internet.
Note that if you choose the Web option, that does not instantly add the items to the receiving store's inventory. That store would still have to run the
the Interstore Transfer Import routine and choosing Download from Web.
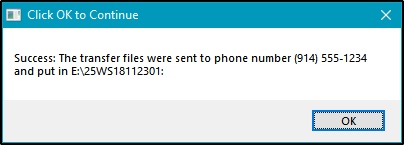
You should see a confirmation like this:
If you have put a copy of the transfer file on a USB memory stick, don't remove it immediately; either wait a minute or so, or right-click the memory stick icon in
This PC / Computer in Windows and choose Eject. This is to make sure that Windows has time to finish writing the file to the storage.
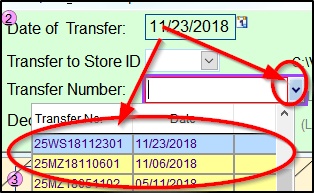
If the transfer file gets misplaced or corrupted before the receiving store gets it, you can recreate the transfer file. This does not deduct from inventory again.
If you want to recreate the transfer file, be sure to not type in the sku numbers all over again and create a new transfer because that would double-deduct.
Click the drop-down arrow by the Transfer Number box and select the needed Transfer ID.
Receiving Transferred Inventory
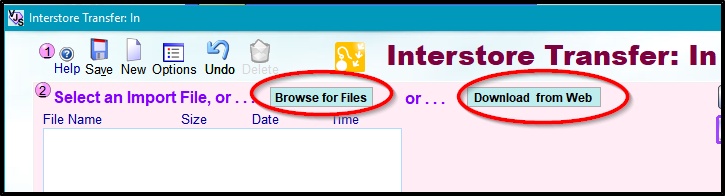
At the receiving store, insert the USB memory stick (if you used that method) and from the Inventory Menu choose Interstore Transfer Import.

If you are using a USB memory stick, click on Browse for Files.
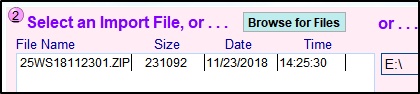
If you browse for files, note that the file name will start with the sending and receiving Store ID's, followed by a number which will include the year, month and date of the transfer file, such as 25WS18112301.ZIP

If you have used that file location before, then the Import screen will automatically show you any available files on that memory stick.
If the sending store used the Web transfer sending method, you can see if there are any web transfer files waiting by clicking on Download from Web
Note that this requires that you have recorded the store's phone number in Preferences via the Maintenance Menu.

You will see the list of items and to confirm you want to import them, click on the Import button.

That will add those items to your inventory.
In order that the USB memory stick doesn't get completely cluttered with files, the imported transfer files on the USB memory stick are moved to a folder called Imported. You could delete those processed files from the Imported folder at a later date if you wanted.
---------------------------------------------------------------------------------------------------------------------------