Capture Images from the Screen and Add them to Shopkeeper
This pertains to adding images for inventory items, repairs, appraisals and customers. You can add images from your own webcam, from a website or from pictures you have taken with other cameras.
The previous approaches of adding images to Shopkeeper were either dragging and dropping picture files into Shopkeeper or capturing pictures using a USB webcam type of camera.
However, many combinations of webcams and Windows versions don't behave perfectly when they are accessed from a third-party program
so the more reliable method of add pictures to Shopkeeper is to capture a rectangle of the webcam's viewfinder or of an image of jewelry on a vendor's website and then pasting the captured part of the image into Shopkeeeper.
Using a third-party screen capture software will usually give you the most flexibility and precision, but you can start
by using the Snip & Sketch screen capture program which is built-in to most versions of Windows 10 and higher.
Our preferred screen capture program is GreenShot

During setup make sure to set preferences like:
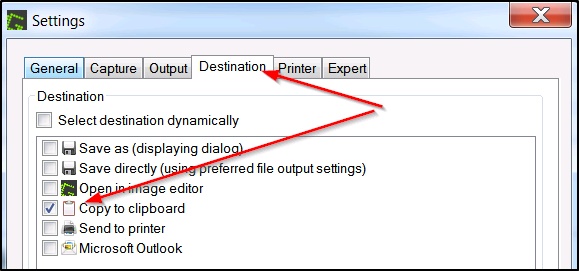
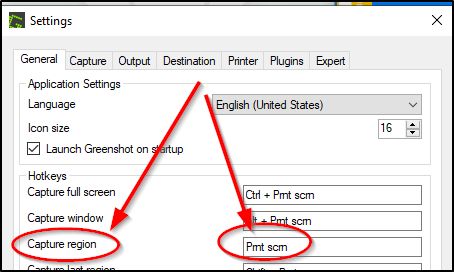
For more information on Screen Capture programs, click here to see the Screen Capture Programs help topic:
Bring up the needed image on the computer screen - e.g. an image on a vendor’s webpage: (try to retrieve the larger size version, not the thumbnail)

Or display an article of inventory via your webcam. In most cases, you can use the "Camera" application built into Windows. But you can also use your webcam's own special controller software - e.g. Logitech or DinoLite.. Try to set the viewfinder image quite large on-screen ; the viewfinder of the Camera app can be enlarged.
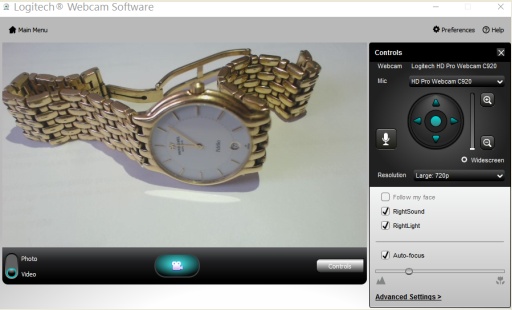
Usually GreenShot is set to activate by pressing the PrintScreen / PrtSc key on the keyboard, but you can configure GreenShot to activate with a different key.
You can activate the Snip & Sketch screen capture by pressing Shift-Windows-S (Shift-W-S) on the keyboard.
By clicking and dragging the mouse, "Draw" a careful rectangle around the image - being sure to get just the part you want.
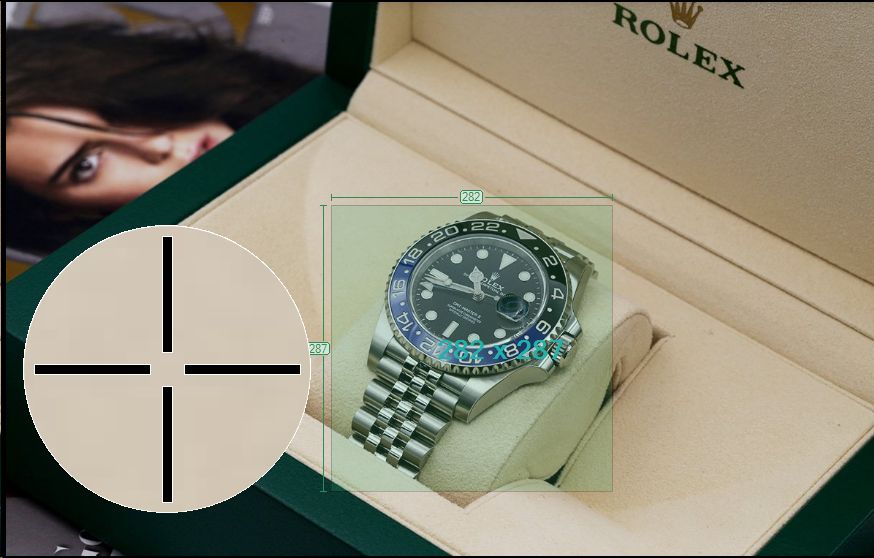
Switch back to VJS and right-click the No Image Saved image area for inventory, repairs,
appraisals, etc, then select Paste Clipboard:
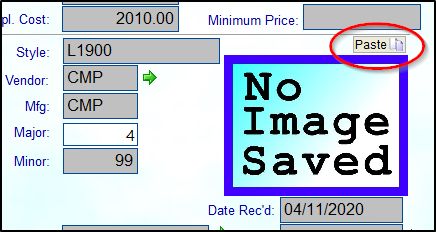
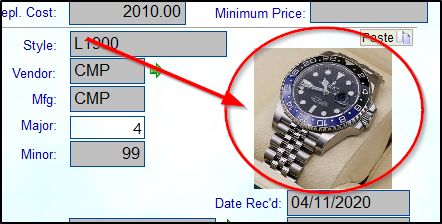
Note how this lets you obtain the picture and crop it in one step.
As with images obtained via the other methods (drag and drop and direct webcam), you can save more than one image per item by following these same steps a second or third time. A single inventory item can also have a mix of images captured from the screen and from a USB webcam and from a picture file on disk.
The "More Pictures" button appears by the image if there is more than one picture.
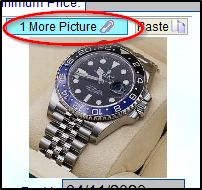
If you need to delete the picture or view the other pictures for the item, double-click the picture box to get to the Picture Manager.