This is a part of the Shopify Integration Module of Jewely Shopkeeper.
This module requires an active Shopkeeper Maintenance Plan and the Shopify add-on to the Maintenance Plan.
Ask Compulink for a Quote for this add-on.
The Inventory upload steps require that you download ahead of time certain Shopkeeper "Shopify utility programs" that Compulink will assist you with.
Periodically, Compulink may advise you to download newer Shopify utility programs, which are independent from the regular VJS updates.
You may periodically have to obtain both a fresh Base Maintenance Plan code and a fresh e-Commerce Maintenance Plan Code.
You select and upload inventory items via the Inventory Status screen.
As with all inventory, the basic data fields on the Main page have to be filled in.
If you load multiple pictures, they will all be uploaded to Shopify.
Note that the style is generally the "key field" and if you happen to have multiple Sku's for a single style,
only one record will be created in Shopify for that Style. The total quantity among all the Sku's
for that style will be sent to Shopify and if there are differences in price or description for the various Sku's of the same Style,
the most recent will be sent to Shopify.
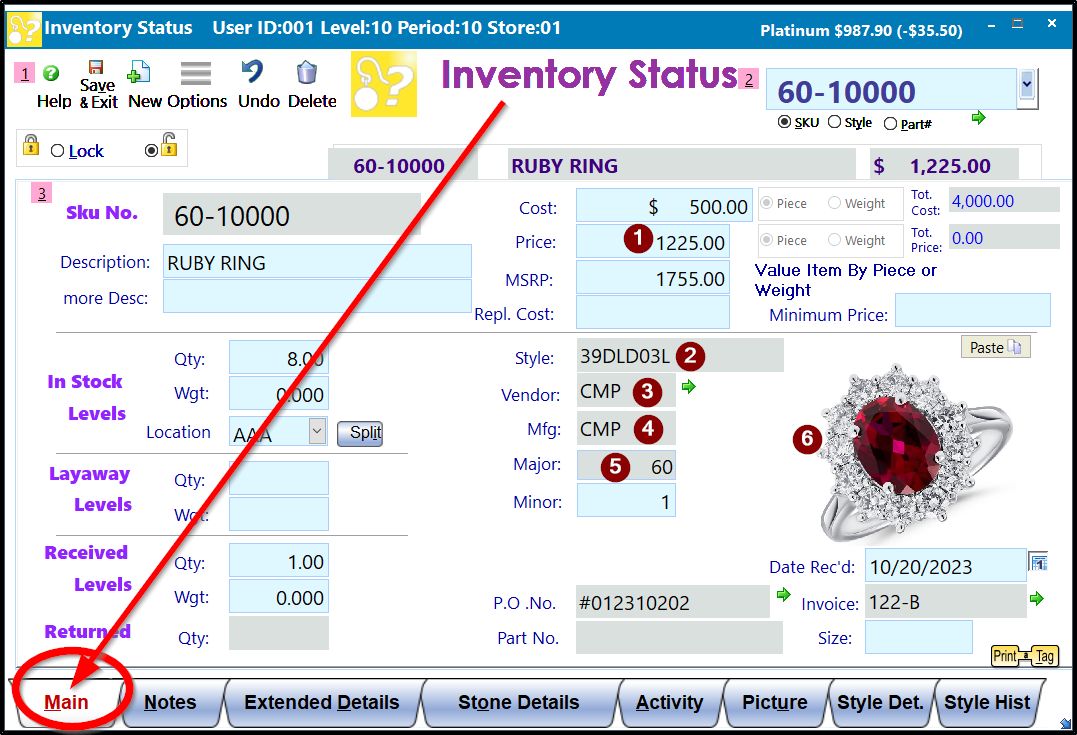
The upload step is done from the Style Detail page where some additional data fields must be filled in.
If at the bottom right, you see the words "Click to Open the Item's Web Page", that indicates that this style has previously been exported to Shopify.
If you think you have revised information for this style, you can upload it again to refresh Shopify.
The Shorter Web Description / Title becomes the brief description in Shopify.
The Long Web Description becomes the complete description in Shopify.
See a separate help topic for information on the possibility of using Google AI (artificial intelligence) tools to speed up writing both the longer and the shorter on-line descriptions.
The Web Status box is typically PUB, but in practice any word other than NOPUB means publish the item.
If you specify NOPUB, then the item will be uploaded to Shopify, but in a type of suspended state not
for the public to see, until you change its Shopify status to Published.
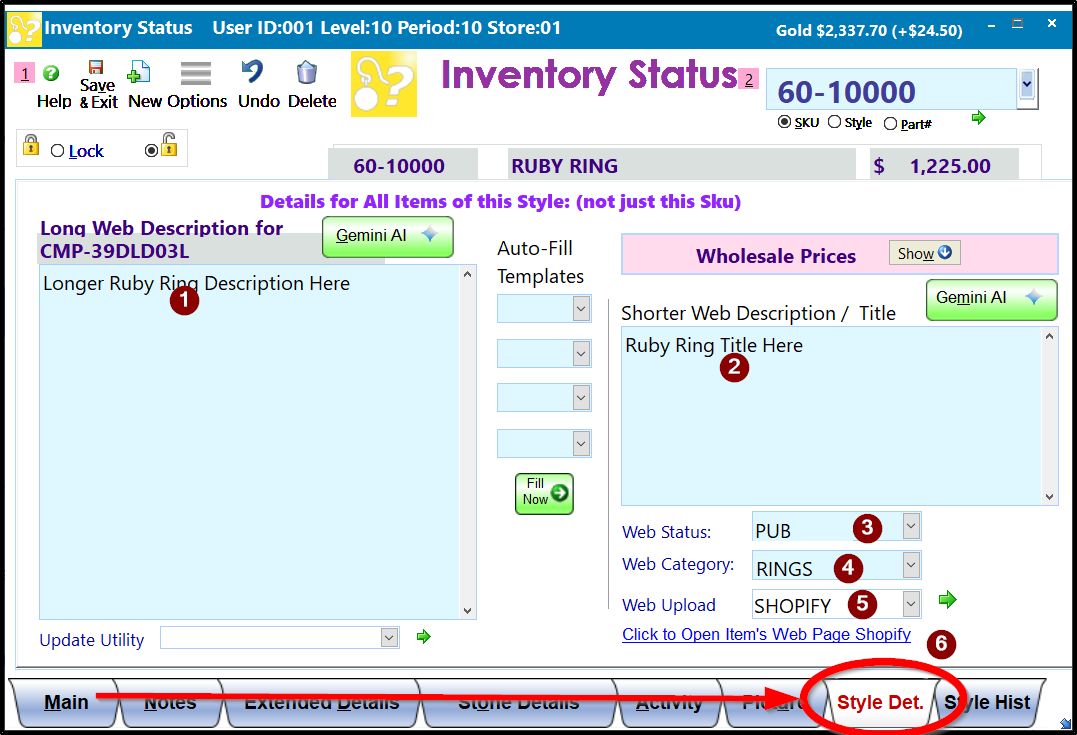
The Web Category can be any basic inventory group on Shopify.
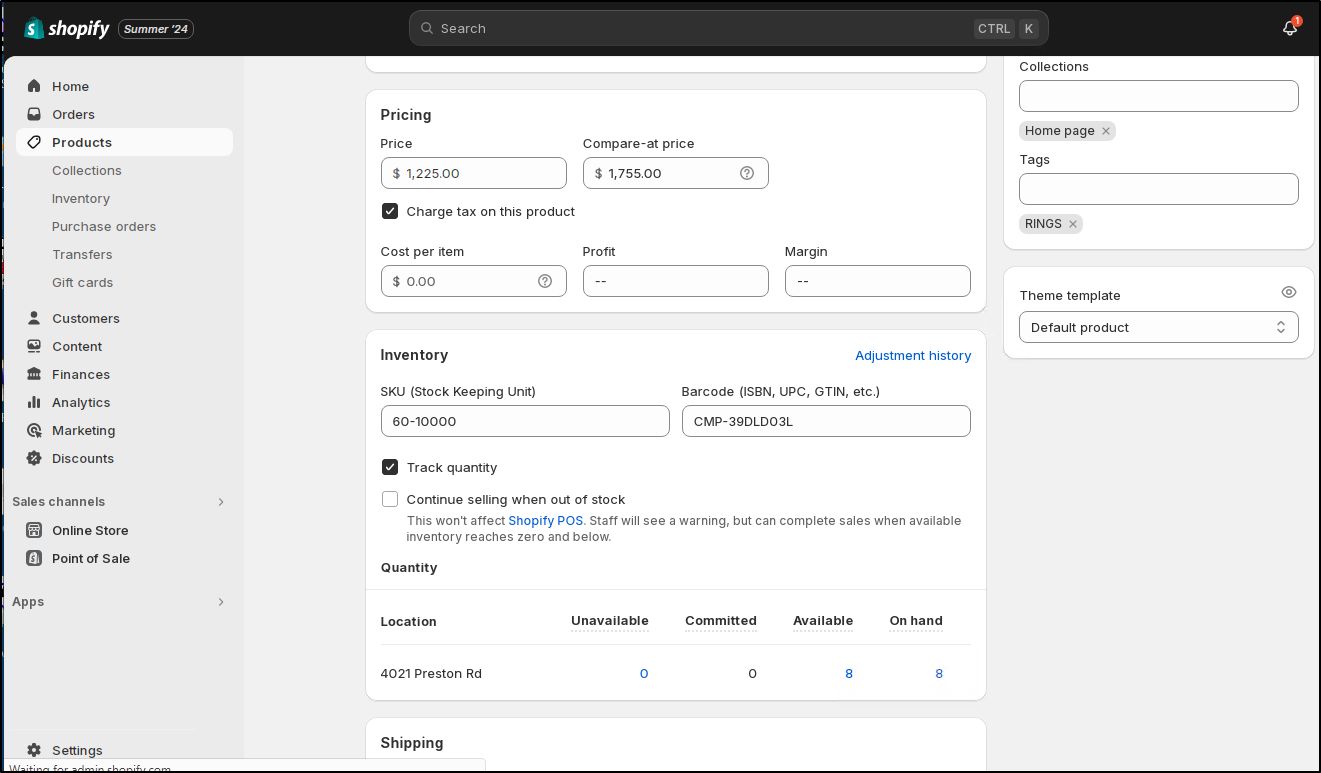
Note that after you have uploaded the item to Shopify, you can access the item's administration page on Shopify and add further information such as multiple "tags".
When you are ready to upload, type SHOPIFY in the Web Upload box (or select it from the drop list) and then click the green "Go" button next to it.
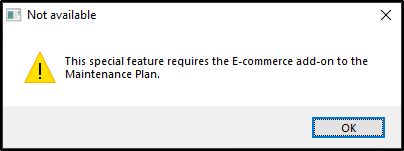
If you see the pop-up "This special feature requires the E-commerce add-on to the Maintenance Plan", see notes further below.
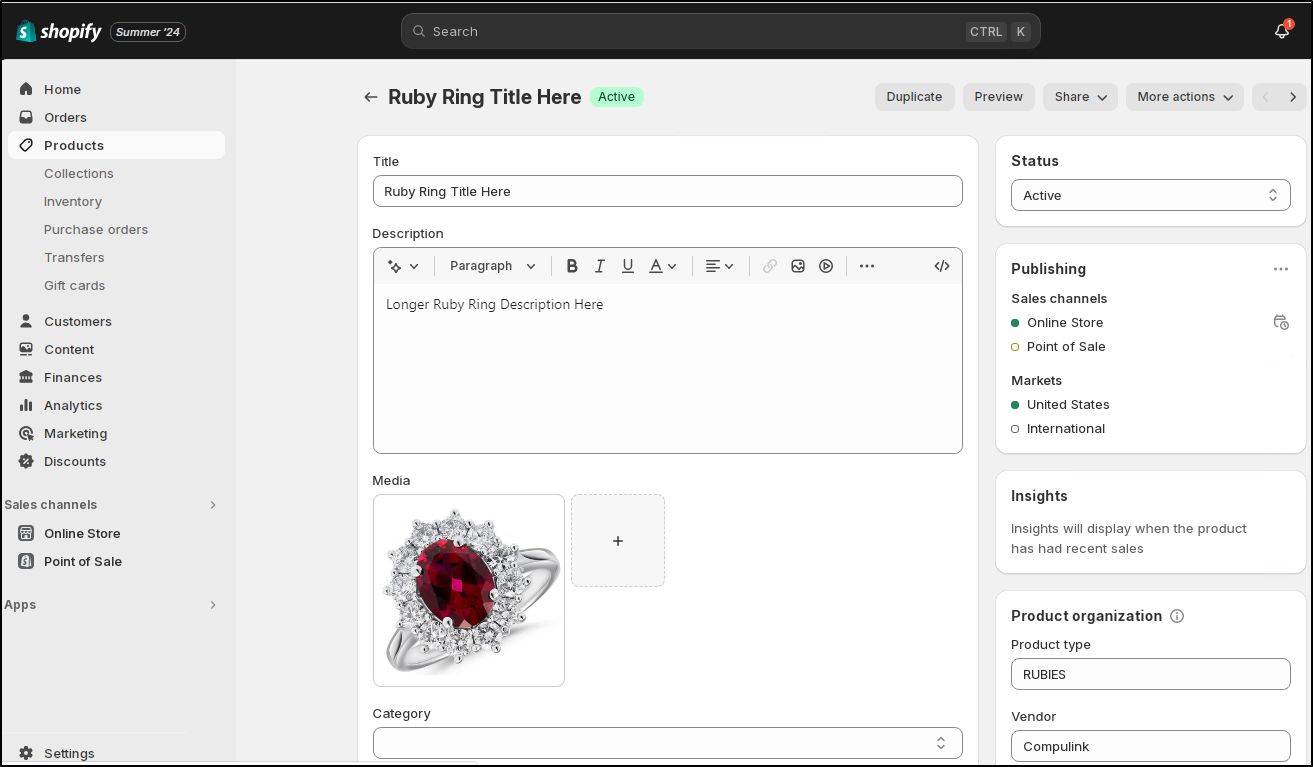
If the upload is successful, you'll see the prompt " Shopify ID: xxxxx was uploaded"
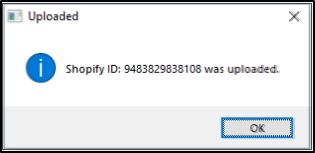
and a link near the bottom of the page will appear to confirm this. You can click the link to access the Shopify administration page for this item, provided you have your Shopify administrator credentials.
The link will be something like: https://joe-jeweler.myshopify.com/admin/products/7883829838108

If you see the pop-up "This special feature requires the E-commerce add-on to the Maintenance Plan", then you need to obtain from Compulink both a fresh Base Maintenance Plan code and a fresh e-Commerce Maintenance Plan Code.
I.e. these special integration features require ordering the subscription to the e-Commerce Maintenance option, which is an add-on, above the base Maintenance Plan subscription.
Typically that is a two-word combination code of the format:
XPFZDH18E, ETRFZ17BQ
that you enter on the first page of Preferences (via the Maintenance Menu)

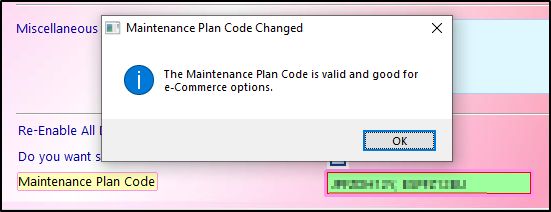
If you enter the correct codes, you'll see the confirmation pop-up,
"The Maintenance Plan Code is valid and good for e-Commerce options."
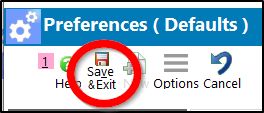
Then choose Save and Exit at the top:
