![]()
Using Visual Jewelry Shopkeeper with TJS ZeroShrink® Radio Frequency Identification (RFID)
Each TJS RFID wafer tag becomes linked to a single Jewelry Shopkeeper Sku number.
These thin wafer tags can be sandwiched within standard barcode price tags printed by Shopkeeper so that merchandise can be identified by a printed Sku number, by barcode and by RFID.
With the TJS wireless Volaré “wand” reader, multiple tags can be read simultaneously. These readings can be used for taking physical inventory, relocating a batch of items, returning multiple items to a vendor, etc.
Configuration:
Ask your TJS representative which version of Java is required and install it on your computer. For example, at the time this document was prepared, you would need to install the latest release of 32-bit or 64-bit Java Version 6.

Java downloads are available at www.java.com. Future TJS updates will support Java Version 7.
The TJS appliance is the device with the network cable port. Make a note of its ID number which should be on the barcode underneath. For example, it might look similar to: 1C23E196
Verify that your computer can communicate with the TJS appliance by opening your web browser and typing the below in the address bar: (but substitute your own appliance’s ID number for the 1c23e196 portion in the middle.)
https://1c23e196:8444
If you encounter browser security warnings, choose to add an exception to allow the connection.
If your computer cannot communicate with your TJS appliance this way, TJS technical support will assist you.
Verify with Compulink that you have the optional RFID module as part of your Visual Jewelry Shopkeeper license or order a Shopkeeper upgrade.
In Visual Jewelry Shopkeeper go to the Inventory Cont page of Preferences from the Maintenance Menu.
In the RF Type box, type TJS 1C23E196 - but substitute your TJS appliance’s ID number, then Save and exit Preferences. This enables RFID reading on Shopkeeper screens, but to reduce clutter, it doesn’t automatically open the RFID options box on each screen. To have the VJS screens automatically open the options box, add the word AUTO. E.g. you can type something like TJS 1C23E196 AUTO adding the space before AUTO.
RFID Linking from the Tag Printing Screen
From the Start Printing Tags screen, the RFID wafers can be linked to Shopkeeper Sku numbers. Note that you must enter inventory such that each Sku to be tagged has a quantity of just one. If you receive multiples of the same style, you must enter each on a separate line so that each has a unique Sku number.
![]()
Click the RFID icon to enable the linking option.
![]()


![]()
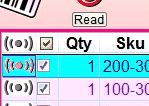
Place the RFID wafer in the middle of the TJS Desktop Scanner and click the RFID icon within the list, next to the corresponding Sku number. You can do this after you have sandwiched the wafer in the barcode tag. If you do it before, you need to be extra careful that you afterwards put it into the correct tag.
![]()
If the tag is successfully linked to that Sku, you will get a Success message and the RFID icon next to that item in the list will turn green.
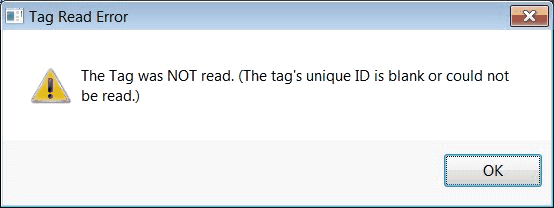
An error message will show if the tag was could not be linked. In that case, adjust the position of the tag on the Desktop Scanner and try again. You can also click the “Read” button under the main RFID icon to see if the tag can be read.
![]()
The RFID icon in the list next to that item will appear red if it was not successfully assigned.

If the RFID wafer was previously assigned to another Sku number, a warning prompt will ask for confirmation that you want to reassign it to the new Sku number.
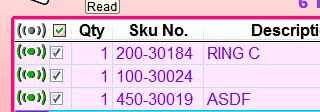
Continue until all the items have a green “success” RFID icon next to them.
RFID Options from the Inventory Status Screen
From Inventory Status you can Read, or Write (link) or Erase (unlink) RFID wafer tags.

![]()
Click the RFID icon near the top of the screen to show the RFID options.
If the tags were not linked during the tag printing step, you can locate the correct Sku number on-screen by scanning the barcode or by typing the Sku number. Then place the tag in the middle of the Desktop Scanner then choose Write Sku to Tag.
As with the linking option from the Tag Printing screen, the result could be Success, Error or a warning that the RFID wafer tag was previously assigned to a different Sku.
To look up a single tag, place the price tag (containing the RFID wafer) in the center of the Desktop Scanner and choose Read One and Shopkeeper will look up that item.
With the Continuous Read option, you can look up the details for a sequence of tag items in hands-free mode.
In turn, place each tag on the Desktop Scanner and Shopkeeper will look up that item.
Click the RFID icon or press any key on the keyboard to stop the Continuous Read mode.
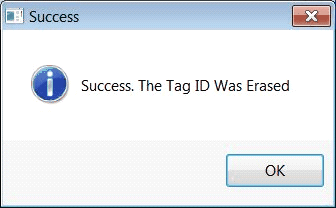
The Erase Tag option is used to unlink a RFID tag from a Sku. This could be done, for example when you have several RFID wafer tags from items that have been sold and you would like to recycle the RFID wafer tags, or if a RFID tag were linked to the wrong Sku.
Place the tags one at a time on the Desktop Scanner and choose Erase Tag and wait for the Success response.
RFID for Physical Inventory, Inventory Relocation, Returns to Vendor
These steps also pertain to Deduct from Inventory and Assemble Disassemble – though those uses would be less common.
These screens all have the common step of entering a list of inventory to “act on” – the list of the physical inventory count or the list of items being relocated or returned. These lists can be compiled by a combination of typing the Sku numbers, scanning the barcodes, reading in a text file of Sku numbers or by reading in via RFID. The example below is for Physical Inventory but the other screens will use the same steps.
Open Physical Inventory from the Inventory Menu and choose Add, then Enter or Add to Physical Count. Instead of Add, choose Delete if you are not continuing to add to the existing list, e.g. the list was from a previous physical.
As with the Inventory Status screen, you can read RFID tags using the USB-connected desktop scanner. If you do, the Continuous RFID Read mode would be preferred over Read One RFID Tag. In Continuous mode, you can successively place one item at a time on the reader and you do not have to press any key on the keyboard or click the mouse between each item;
Note that when doing Physical Inventory the Auto-Add checkbox is checked by default, but not for Relocations or Returns

. You will want to check it when using Continuous RFID Read so that you don’t have to use the keyboard or mouse between each item.
However, the wireless Volaré wand reader is generally a far more efficient method of adding the list.
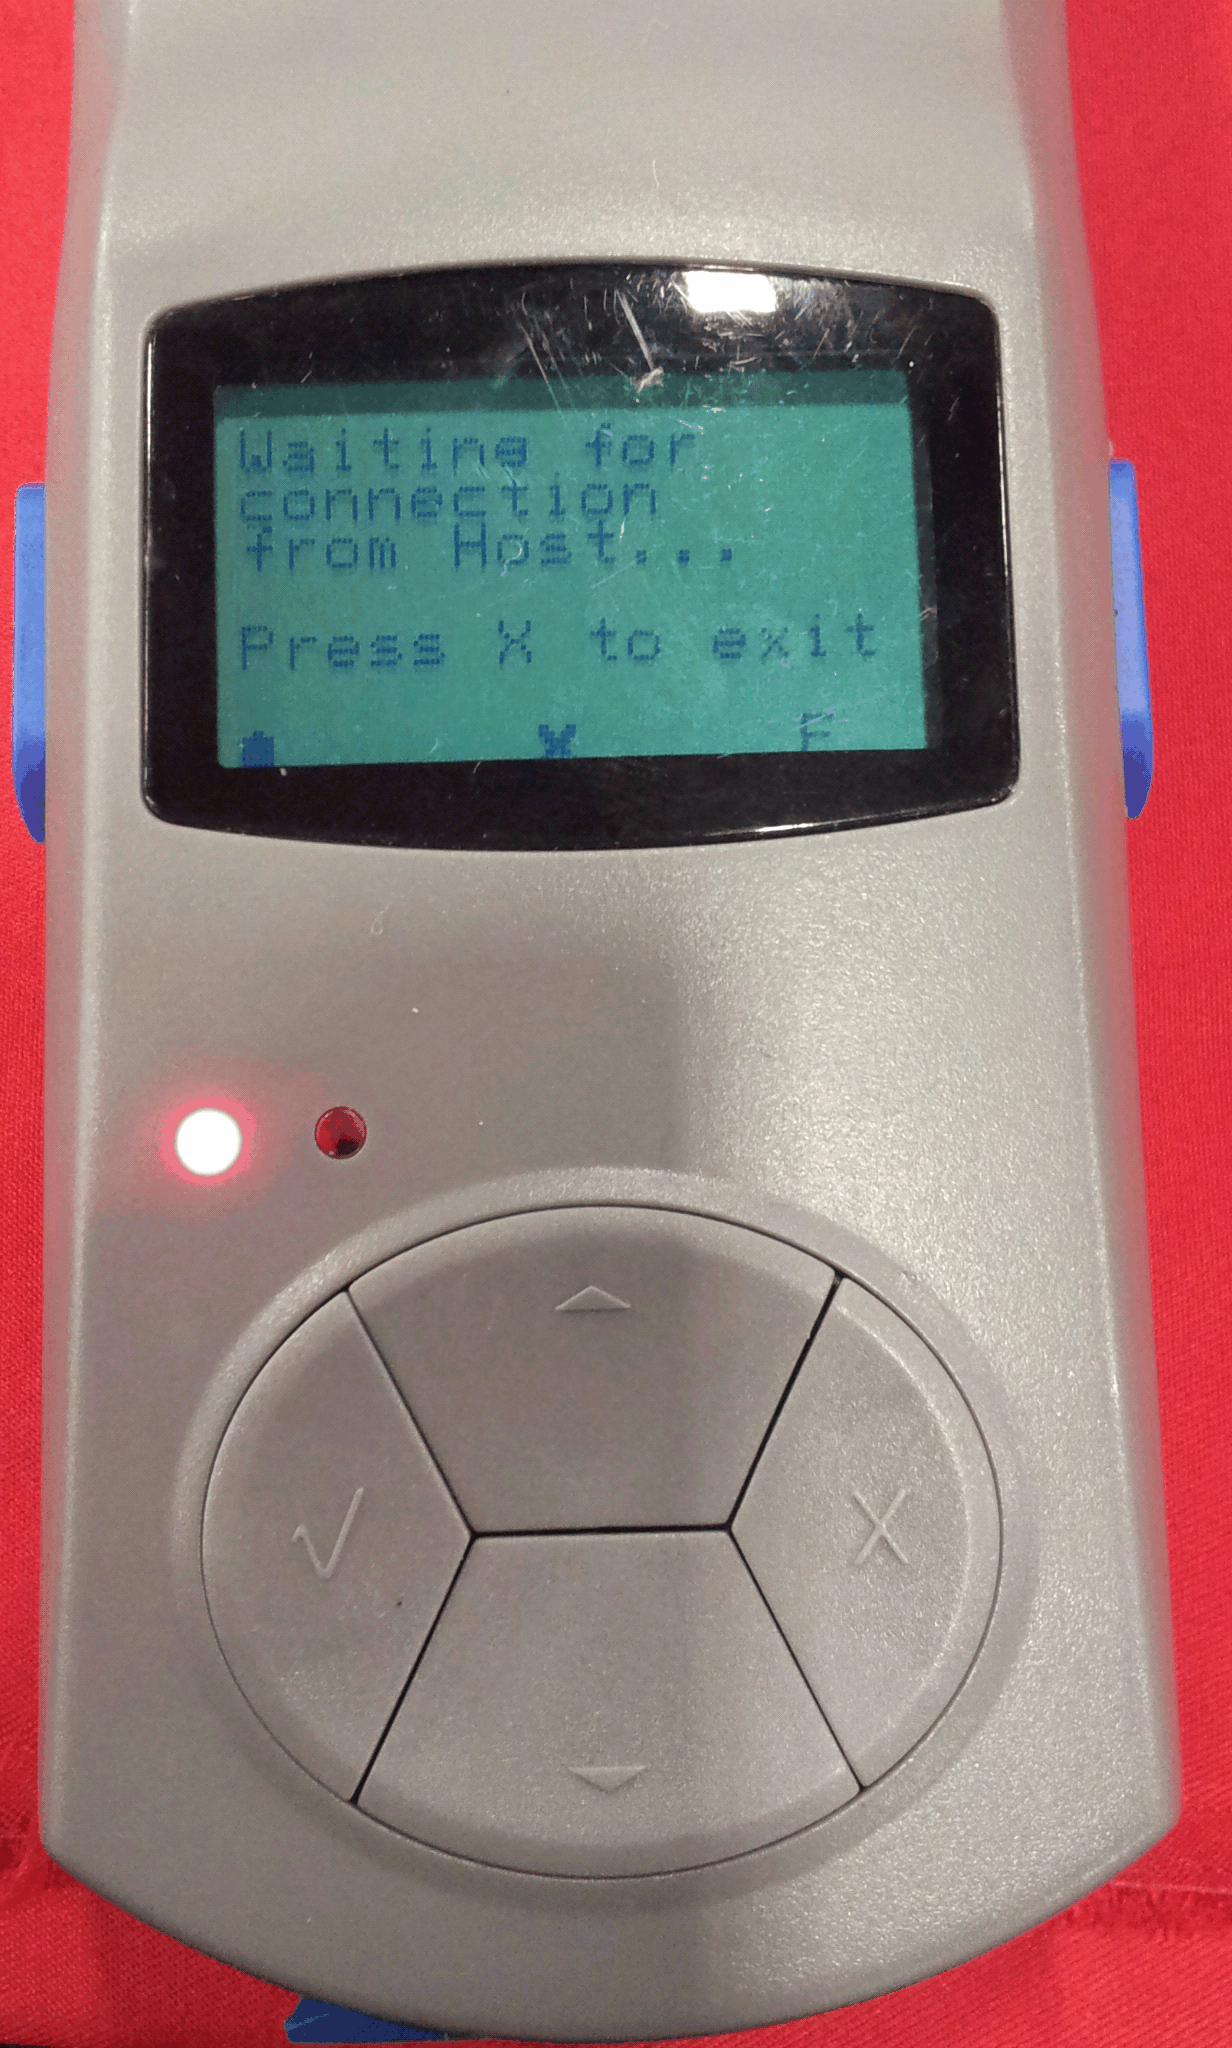
Clear the Volaré’s tag count by pressing the X then √ buttons on the reader. Scan as many tags as you like. The wand capacity is about 7,000 tags. However, you don’t want to scan so many tags at a time that you would be devastated if you were to accidentally press the clear button before downloading. You can add to the physical count list with further scans.
Set the Volaré to Waiting for Connection from Host. To do this, you may need to press the check button √, resulting in a Sync Failed message followed by the Waiting message on the Volaré screen.
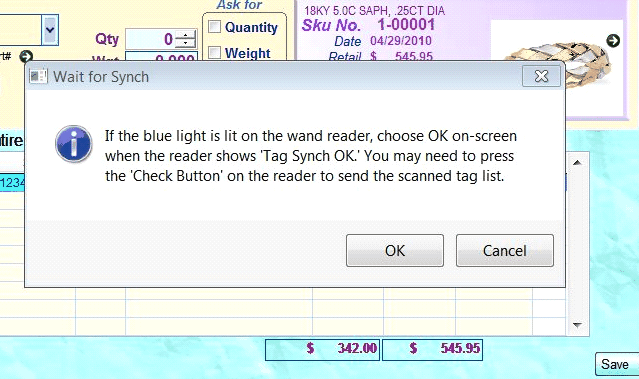
Choose Wand RFID Reading in Jewelry Shopkeeper which will request a wireless Bluetooth connection between the computer and the Volaré.
When the blue light on the Volaré lights up, you can press the check button √ to send the tag list from the Volaré to Jewelry Shopkeeper.
That should result in the Synch OK message on the Volaré screen. At that point, you can choose OK at the Shopkeeper prompt
Note that sometimes, depending on timing, when you choose Wand RFID Reading in Jewelry Shopkeeper, the Bluetooth connection and the tag download and the Synch OK message might occur in one step – without your having to press the check button √, to send the tag list. This is perfectly fine and you can continue on as if you had manually pressed √ to synch.
For example, if you press the check button √ to get the Sync Fail and then the Waiting message on the Volaré and then immediately choose Wand RFID read in Shopkeeper, then the Volaré’s send request may retry autonomously as soon as the Bluetooth connection is made.

After a successful download / synch, the Sku numbers will be added to the physical count list.
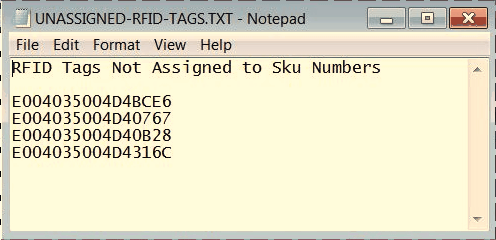
Any non-accepted tags will be added to a list in a text file that you can review. For example, any Sku numbers that were previously in the physical count list will be disregarded to avoid duplicate counts.
If there were any TJS RFID tags that were not linked to Sku numbers, those will also be listed, as will any Sku numbers not found in the inventory list.
You can continue to add to the physical count list by further reads by the RFID equipment, or by manually typing Sku numbers or by reading barcode tags.
As always with the Physical Inventory procedure (e.g. even without RFID), the remaining step is to run the Exception Report. This report will show you the items where the counts expected by Jewelry Shopkeeper do not match the physical count. Refer to the Physical Inventory instructions for more details on that step and for adjustments, if needed.