Instructions for Entering Repairs
Visual Jewelry Shopkeeper typically ships with around a dozen pre-made repair billing Sku numbers. However, you'll want to review this list and adjust and/or add to it.
For information on Repair Sku's, see these topics: Repair Sku Numbers and David Geller Jeweler Profit Blue Book
For help on repair envelope or ticket printing, see these topics: Paper Stock for Repair Envelopes and Tickets and Adjusting Repair Ticket Layouts
Note that there are two approaches to entering repairs below:
1) Where you enter a repair *via* the sales screen. - This is the normal way for retail jobs. The sales ticket is "reserved" ahead of time and shares the same number as the job.
2) Where the repair was entered independently of the sales screen and then later needs to be attached to a sale.
- This is more common for wholesale jobs because if you receive 30 jobs from a jeweler, you won't know ahead of time how they will end up been grouped on different invoices. (But, some retailers prefer this method anyway.)
...
1) Where you enter a repair *via* the sales screen.
To record a repair, open the Sales screen (not the repair screen) Select a customer as with any customer.
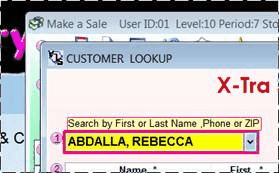
Accept the sale number as usual. I.e. normally it's suggested to use the same sale sequence as for sales.

However, if you have special reasons to have a separate sequence, you could use a different number sequence, but preface it with a letter such as R for Repair or E for Envelope or J for Job.

Next select a repair Sku number. If you don't remember the repair Sku numbers, click the down arrow in the Sku Number Box to get the Inventory Search screen.
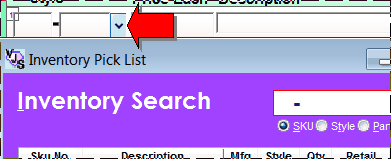
In the Inventory Search screen you can choose to show Just the repair Sku's to make it easier.

Then you can change the expected price and the short description.

To access the full repair tracking screen click the Repair button.

Fill out the repair screen and then either Print Ticket to print an envelope or No Ticket to save without an envelope.
Now the repair tracking details and the sales ticket are linked and they share the same ticket number.
Later, you can directly see the repair details by using the Repairs & Custom Jobs option from the Main Menu. You might want to change the sale type to Layaway or Repairs at the top of the sales screen. (both are somewhat equivalent)

...
2) Where the repair was entered independently of the sales screen and then later needs to be attached to a sale.
Now……. If you have already entered some repairs via the repair screen, these would be referred to as Unbilled Jobs or Loose Jobs.
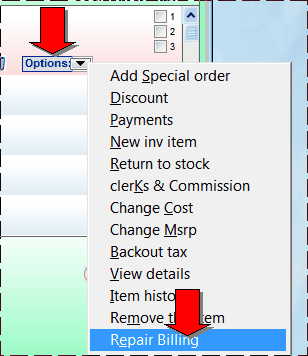
To retroactively link them to a sales ticket, create a sales ticket as usual and then choose Options, Repair Billing from within the Sku line
From the top of the sales screen.
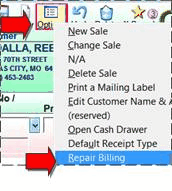
And that will pop up the Job Billing screen where you can select one or more (Unbilled) jobs to be added to this sales ticket.
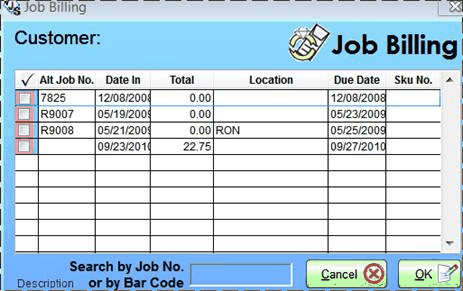
Note that each job that is billed will need a billing Sku number.
If you added that Sku in the repair screen then you will not be required to select it when you bill it.
But if a Sku was not added to the job, the billing step will require one.