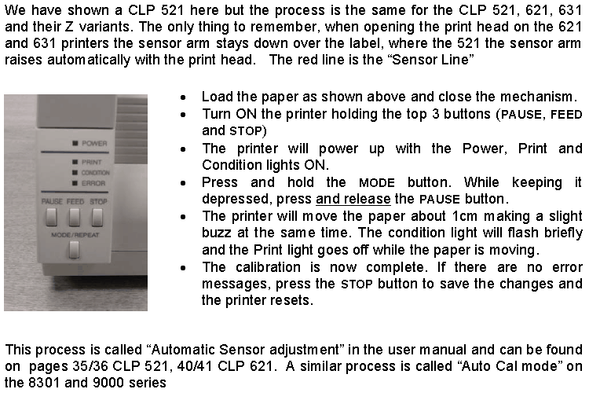
First ensure the printer is in “reflective mode”, as described above. • Install the media to be calibrated ensuring that the black mark is at least 3cm away from the media sensor’s “line” and close the mechanism. • Turn ON the printer holding the top 3 buttons (PAUSE, FEED and STOP) • The printer will power up with the Power, Print and Condition lights ON. • Press and hold the MODE button. While keeping it depressed, press and release the PAUSE button. • The printer will move the paper about 1cm making a slight buzz at the same time. The condition light will flash briefly and the Print light goes off while the paper is moving. • The calibration is now complete. If there are no error messages, press the STOP button to save the changes and the printer resets.
If the printer is unable to complete the adjustment, it moves the paper a slightly longer distance (usually about 2 or 3 cms) and then the Error and Condition lights flash. Usually the error is caused by the upper and lower sensors being mis-aligned. Please refer to the later section “Easy Media Sensor Adjustment”. Once the problem is fixed, usually repositioning the paper sensors, too ensure they line up, the Auto Calibration function can be repeated. If the media is very thin, very thick or even an unusual colour, it can sometime confuse the automatic adjustment process. Generally, we would recommend you contact your dealer or Citizen for further information on advanced configuration. Performing A Self Test After performing the calibration, the simplest way to see if it was successful is to restart the printer and press the FEED key. Each successive press of the FEED key will advance to the start of the next piece of media. To perform a printing self-test, follow the procedure. The self-test is designed to print on two square labels approximately 100mm x 100mm in size. • Turn the printer ON holding the FEED button. • Printer will beep. Release the button at this point. • Note: if you leave your finger on the FEED button the light will start to flash faster and the self test will be done using continuous paper mode rather than labels. • First page prints a test page with among other things the word “TEST PRINT”; second page is a series of graduated grey scales to ensure all elements are firing correctly. • If the label size is larger the printer will print on two separate pages anyway, smaller and it may print over several labels, ignoring page breaks. Please note - This is the only test that looks at the paper sensor, making sure it is working correctly. It is a very good idea to do this test as it also checks the print quality.